
How to make a restaurant menu? That’s the first question every restaurant owner asks in the starting phase. You know that your menu plays an important role in driving sales and boosting profits. A well-designed menu showcases your culinary offerings and creates a memorable experience for your customers.
With the right combination of dishes, descriptions, and pricing, a menu can entice customers to explore new flavors and return for more. However, designing a menu that strikes the perfect balance between creativity and profitability can be daunting.
In this comprehensive guide, we’ll walk you through the restaurant menu design ideas, share some essential do’s and don’ts of design, and provide you with the process of menu planning to inspire your menu creation.
Why is Good Restaurant Menu Design Important?
Good menu design helps your restaurant make a strong first impression and improves the overall dining experience. Let’s explore why it really matters.
1. Guides Customer Choices
A smart menu layout guides people to your most profitable and popular items. Using design tricks like boxes, icons, or highlighting helps draw attention to dishes you want to sell more of. This makes ordering easier for customers and more profitable for your business.
If you want to explore more about layouts and patterns, you can find some menu layout templates and examples here.
2. Boosts Sales
Good menu design can subtly encourage customers to spend more. For example, placing high-margin items in the top-right corner (where eyes naturally go first) often results in more orders. Clear pricing, delicious food descriptions, and well-placed visuals can lead to higher average bills.
3. Reflects Your Brand
Your menu design should match your restaurant’s theme, whether it’s casual, fine dining, or modern fusion. A clean and classy design builds trust and shows that your restaurant pays attention to detail. Colors, fonts, and images all tell a story about your brand.
4. Improves the Dining Experience
A confusing or cluttered menu can frustrate customers and slow down decision-making. But a well-organized menu makes it easy to find options, understand what’s in a dish, and feel confident in their choice. This leads to a more enjoyable visit.
5. Reduces Order Mistakes
Menus that clearly show dish names, descriptions, ingredients, and dietary labels (like vegan, spicy, or gluten-free) help prevent misunderstandings between the customer and the kitchen. This saves time, avoids food waste, and improves customer satisfaction.
6. Supports Promotions & Specials
Seasonal offers, combos, or daily specials stand out more with good design. You can use banners, stickers, or side panels to highlight them. A strong visual presentation makes promotions more appealing and more likely to be ordered.
How to Design a Restaurant Menu: A Step-by-Step Process
Step 1: Planning Your Restaurant Menu Strategy
First, establish clear objectives for your restaurant menu. Consider these essential questions:
- What’s your target profit margin per dish?
- Which items do you want to promote most?
- What’s your ideal average order value?
- How does your menu reflect your brand identity?
Subsequently, these answers will guide every decision throughout the menu creation process.
Analyze Your Target Audience:
Understanding your customers shapes your entire menu approach. Therefore, research your target demographic thoroughly:
- Age groups: Younger customers prefer bold flavors and Instagram-worthy presentations
- Income levels: Higher-income diners expect premium ingredients and sophisticated descriptions
- Dining occasions: Casual lunch crowds differ from special occasion diners
- Local preferences: Regional tastes influence menu acceptance
Moreover, consider dietary restrictions and current food trends. Plant-based options, gluten-free choices, and health-conscious selections have become increasingly important.
Conduct Competitive Menu Analysis:
Next, study your competitors’ menus systematically. Visit similar restaurants and analyze:
- Pricing strategies across different categories
- Menu layout and visual design choices
- Popular items and promotional techniques
- Description styles and language use
However, don’t copy competitors directly. Instead, identify gaps in the market that your menu can fill uniquely.
Step 2: Menu Engineering and Item Selection
Calculate Food Costs and Pricing:
Proper pricing forms the foundation of profitable menu creation. Therefore, follow this systematic approach:
Calculate Your Food Cost Percentage:
- Determine ingredient costs for each dish
- Add labor costs for preparation
- Factor in overhead expenses
- Set your target profit margin (typically 28-35%)
For example, if a dish costs $8 to make and you want a 30% food cost, price it at $26.67 (round to $27).
Apply Menu Engineering Principles:
Menu engineering categorizes items into four types:
- Stars: High profitability + High popularity
- Plowhorses: Low profitability + High popularity
- Puzzles: High profitability + Low popularity
Optimize Your Menu Mix:
Limit the number of items to 7 per category, with a maximum of 30-40 items total. Additionally, balance your menu across these categories:
- Appetizers: 3-5 options ranging from light to substantial
- Main courses: 8-12 dishes covering different proteins and dietary needs
- Desserts: 3-4 selections, including at least one signature item
Drinks: Curated wine list, specialty cocktails, and non-alcoholic options. If you don’t know how to list out drinks or beverages in the menu, here are some drink menu examples to lead customers to your signature drinks.
Step 3: Layout and Pattern Selection of Menu
As a restaurant owner, you want to create a menu that is easy to navigate and draws the customer’s attention to your most popular and profitable items. To do this, you’ll want to take advantage of the Golden Triangle, which is the three areas on it that most customers tend to look at first.
- First, the middle of your menu is where most customers’ eyes will go first. This is a prime location to highlight your specials or limited menu items. If you have a dish that is only available for a limited time or a special that is only available on certain days, make sure to feature it prominently in the middle of your menu.
- The second point on the Golden Triangle is the top right corner of the page. This is where many restaurateurs place their entrees or main course items. These are typically the most expensive and profitable items on the menu, so it makes sense to draw attention to them.
- Finally, the top left corner is the third point on the Golden Triangle. This is a common location for appetizers, which can boost your profits when combined with entrees. Make sure to feature your most popular and profitable appetizers in this section of the menu.
Once you’ve determined which items to feature in the Golden Triangle, you can layout the rest of your menu accordingly. Grouping similar items together, such as salads or sandwiches, can make it easier for customers to find what they’re looking for. You can also try some menu maker apps to design your menu.
Moreover, it’s also important to check the visual hierarchy. Below are the guidelines for typography and colors to make the menu design more appealing.
Typography Guidelines:
- Primary font: Clean, readable sans-serif (minimum 12pt)
- Accent font: Decorative script for headers only
- Never use more than two font families
Color Psychology:
- Red: Stimulates appetite and urgency
- Green: Suggests freshness and health
- Gold: Implies luxury and premium quality
- Blue: Avoid food items (suppresses appetite)
Step 4: Crafting Compelling Menu Descriptions
Effective menu descriptions trigger sensory responses and create desire. Therefore, use these proven techniques:
Sensory Language Examples:
- “Crispy” instead of “fried”
- “Tender” rather than “cooked”
- “Rich, velvety” versus “creamy”
- “Flame-grilled” not just “grilled”
Moreover, include preparation methods and key ingredients that justify your pricing. For instance, “slow-braised short ribs with truffle-infused mashed potatoes” sounds more valuable than “beef with potatoes.”
Optimize Description Length:
Keep descriptions between 15-25 words. Longer descriptions overwhelm customers, while shorter ones don’t provide enough information. Additionally, focus on the most compelling aspects of each dish.
Use Strategic Storytelling:
Connect dishes to emotions and experiences. For example: “Grandma Rosa’s Sunday Sauce – A four-generation family recipe featuring San Marzano tomatoes and fresh basil from our garden.”
This approach creates emotional connections that justify premium pricing.
Step 5: Categorize Menu Items
To ensure that your menu is appealing to customers, it’s important to feature your most popular and profitable items prominently on the list. In this case, you might consider featuring the Buffalo Wings as a star appetizer at the top of the menu, given its popularity and potential profitability.
Additionally, you may want to create a separate section for signature dishes or items that are unique to your establishment. This can help make your restaurant stand out and entice customers to try something new.
When formatting your menu, consider using clear and concise language to describe each item, including any key ingredients or preparation methods. You may also want to include nutritional information or dietary restrictions for customers who have specific needs or preferences.
Step 5: Setting Your Menu Prices
When it comes to setting menu prices, there are a few factors you should consider. First and foremost, you’ll want to think about the cost of the ingredients you’ll be using for each item. This will help you determine a baseline price for each dish.
In addition to the cost of ingredients, you should also factor in the preparation time for each item. If a dish takes longer to prepare or requires more skilled labor, it may warrant a higher price.
Another consideration is the competition in your area. Look at the prices of similar dishes at other restaurants in your neighborhood, and adjust your prices accordingly. You don’t want to price yourself out of the market, but you also don’t want to undervalue your offerings.
Finally, consider offering daily specials or meal deals to entice customers. These can be a great way to bring in new customers and keep regulars coming back. Just be sure that your specials are still profitable for your business, even at a discounted price.
Use Charm Pricing Strategically:
Prices ending in 9 suggest value, while whole numbers imply quality. Therefore:
- Use $19 for casual items
- Use $24 for premium dishes
- Avoid $19.99 (appears cheap in restaurants)
Step 6: Using Images in Your Menu
Using images in your menu is a great way to showcase your food and entice customers. How to make a menu for a restaurant that is well-organized and visually appealing involves using clear headings and descriptions, as well as high-quality photographs of the dishes. Here are some tips to keep in mind when using images in your menu:
Make sure to take high-quality photos of your dishes. Customers are more likely to order something that looks appetizing, so make sure your photos do your food justice.
Include images of a variety of dishes in your menu. This will give customers an idea of what you have to offer and help them make their decision.
If you don’t have the equipment or expertise to take high-quality photos, consider hiring a professional photographer. Professional photos can make a huge difference in the overall look and feel of your menu.
Step 7: Choose Fonts, Spacing, and Composition
Designing a restaurant menu may seem like an easy task, but it requires careful consideration of various elements such as fonts, spacing, and composition. These elements work together to create an aesthetically pleasing and functional menu that allows customers to quickly and easily find what they are looking for.
When choosing fonts, it is essential to consider readability. Your font choice should be easy to read and reflect the style and atmosphere of your restaurant. For example, a casual cafe may opt for a playful and informal font, while a fine dining restaurant may choose a more sophisticated font. It’s best to limit your menu to two or three fonts, using one for headings and another for body text. This will help create a cohesive and organized look.
Spacing is also a critical element in menu design. Too much space can make the menu look sparse, while too little space can make it look cluttered and overwhelming. Adequate spacing between items and sections makes it easier for customers to navigate the menu and find what they want. It’s essential to consider the size of your menu when choosing spacing, as you don’t want to cram too much information onto a small menu. You can also use QR codes in your restaurant menu, but don’t know how to add a QR code, then you can follow this guide on how to make a QR code menu here.
Composition refers to the arrangement of menu items, headings, and images. It’s essential to have a clear hierarchy of information, with headings and subheadings to guide customers through the menu. High-quality images can help to entice customers and showcase your restaurant’s offerings. However, it’s important to use images sparingly, so they don’t overwhelm the menu.
Step 8. Menu Testing and Optimization
Test different versions systematically:
Test Variables:
- Item placement and hierarchy
- Description length and style
- Pricing presentation methods
- Visual design elements
Moreover, track specific metrics during testing periods:
- Average order value changes
- Item popularity shifts
- Customer feedback patterns
- Staff observations
Gather Customer Feedback:
Collect insights through multiple channels:
- Direct surveys: Ask customers about menu clarity and appeal
- Staff feedback: Servers hear customer reactions firsthand
- Online reviews: Monitor mentions of specific dishes
- Sales data: Numbers reveal true preferences
Monitor Performance Metrics:
Track these key indicators monthly:
- Item mix percentages: Which dishes sell most frequently?
- Profit margins by category: Are high-margin items performing?
- Average order value trends: Is your menu driving upsells?
Customer satisfaction scores: Are diners happy with the choices?
Step 9: Proofread and Print Your Menu
Printing and displaying your menu is the final step in the design process. After you have finished designing, you can print it and insert it into your menu covers.
When deciding on the size of your menus, there are a few things to consider. Firstly, think about the layout you have chosen for your menu. You want to make sure that the menu fits nicely into the covers and is easy for your customers to read. Secondly, consider the size of the font you have used. If your font is small, you may need a larger menu size to ensure that the text is legible. Finally, think about the number of items. If you have a lot of items, you may need a larger size to accommodate them all.
Here are some common sizes that restaurant owners use for their menus:
- Lunch Menu: 8.5″x11″
- Dinner Menu: 8.5″x11″, 8.5″x14″, or 11″x17″
- Drink or Dessert Menu: 4.25″x11″, 4.25″x14″, or 5.5″x8.5″
Once you have decided on the size of the menus, you can print them out and insert them into your menu covers. It’s important to make sure that your menus look professional and are easy to read. This will help your customers make informed decisions about what they want to order and will ultimately lead to a better dining experience for them.
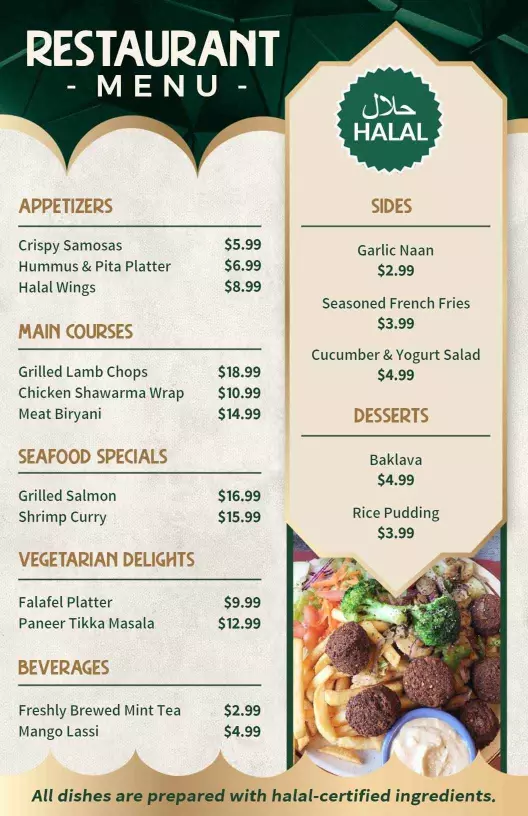
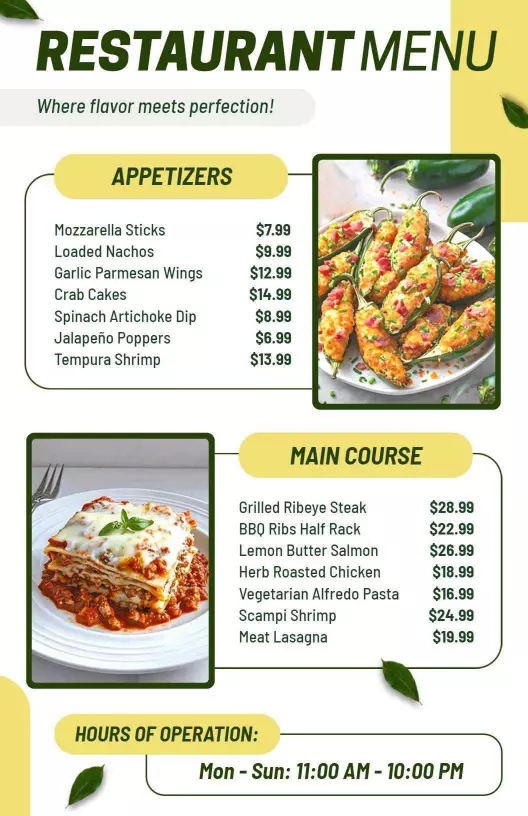
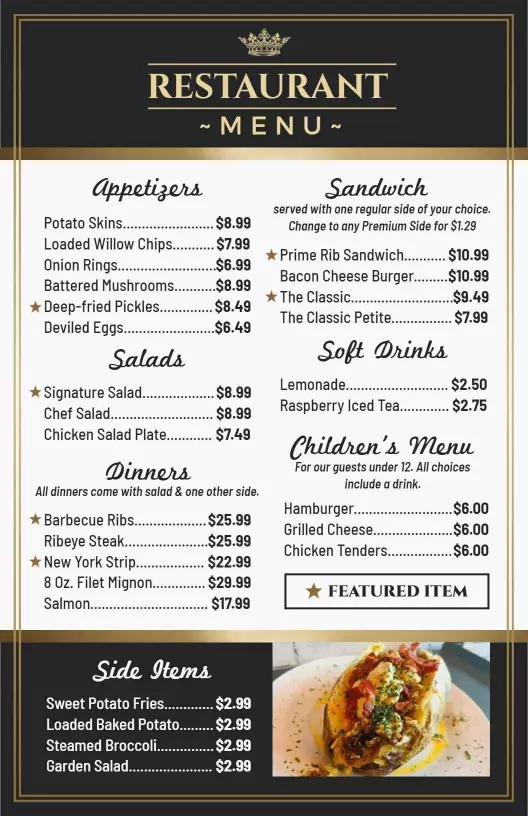
What are the Best Restaurant Menu Examples?
Looking for inspiration to create and design a menu for your restaurant? Here are some best examples and restaurant menu templates that you may find as design inspiration and ideas.
Frequently Asked Questions
1. What is the first step in creating a restaurant menu?
The first step is to define your restaurant concept and target audience. Decide what type of food you’ll serve (e.g., casual, fine dining, ethnic cuisine) and who your customers are. This helps you plan your dishes, pricing, and overall menu style to match customer expectations.
2. How many items should a restaurant menu have?
A balanced menu typically has between 20–30 items, depending on your kitchen’s capacity and restaurant size. Offering too many options can overwhelm customers and slow down service, while too few may limit choices. Focus on quality and variety without clutter.
3. How should I organize items on my menu?
Group items into clear categories like Starters, Main Courses, Sides, Desserts, and Beverages. Within each section, list dishes in the order most people think (e.g., light to heavy). Place high-profit or signature items in areas where the eye naturally goes first, like the top right.
4. What design elements make a menu effective?
Good menus are easy to read, visually appealing, and on-brand. Use readable fonts, consistent colors, quality food photos (if used), and enough white space to avoid clutter. Highlight key items with boxes or icons and maintain a logical flow throughout.
5. Can I use a template to design my menu?
Yes, using a restaurant menu template is a great way to start, especially if you don’t have design experience. Templates help ensure your layout is clean, professional, and balanced. Many free or paid templates are customizable and easy to edit with your branding and menu items.
6. How often should I update my restaurant menu?
Ideally, review your menu every 3–6 months. Seasonal updates keep things fresh, allow you to add trending items, and remove poor performers. Updating also helps manage food costs and gives returning customers something new to try.
Conclusion
Creating a restaurant menu can seem like a daunting task, but with the right tools and strategies, anyone can create a stunning and effective menu. As we’ve discussed in this blog post, there are several key elements to keep in mind, including the importance of organization, the use of descriptive language, and the incorporation of eye-catching visuals. You can also use our menu maker app, which helps you make your menu easily and quickly. Hope this guide on how to make a menu will help you make your next restaurant menu.